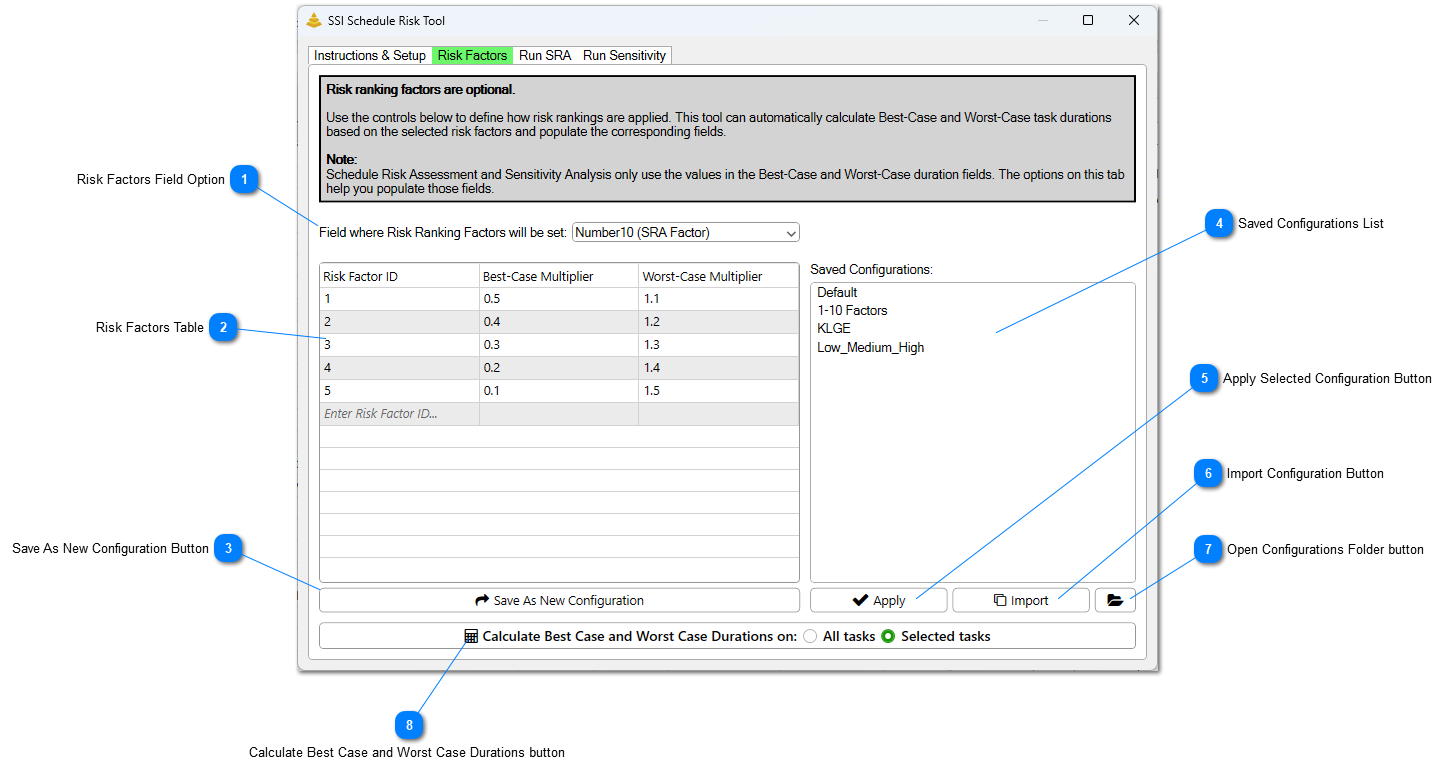
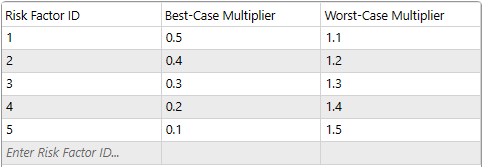
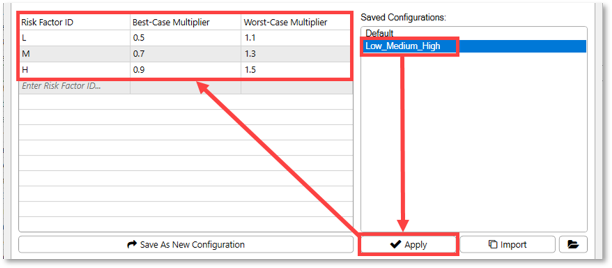
This table defines the available Risk Factor IDs and the duration multipliers associated with each one. When a Risk Factor ID is assigned to a task, the Schedule Risk Analysis Tool uses the corresponding multipliers to automatically calculate the task's Best-Case and Worst-Case duration estimates. The Best-Case Multiplier specifies the value by which the task's current Most-Likely duration is multiplied to calculate its Best-Case duration, while the Worst-Case Multiplier specifies the value used to calculate its Worst-Case duration.
Observe the following table to see how the duration estimates for tasks marked with these risk factors would be calculated:
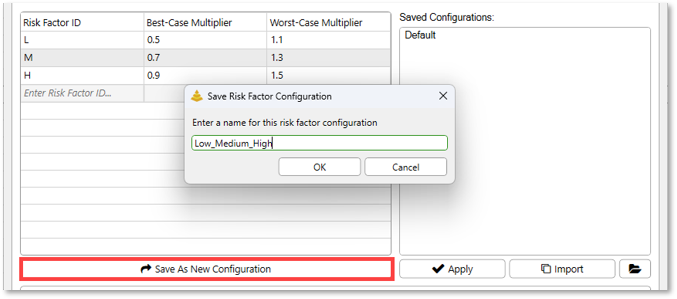
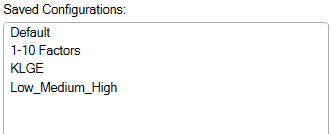
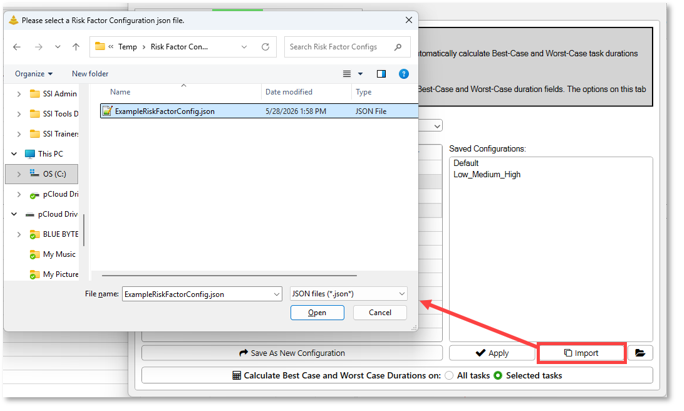
Click this button to save the current Risk Factors table as a new Risk Factor Configuration. Configurations are saved as .json files and appear in the Saved Configurations List. From there, they can be quickly applied in future analyses or shared with other team members to ensure consistent Risk Factor definitions across projects.
When the button is clicked, an window will open to prompt you for a name of the configuration before it is saved:
Once a name has been entered, click the OK button to save the configuration or click the Cancel button to cancel.
Calculate Best Case and Worst Case Durations button
Click this button to automatically calculate Best-Case and Worst-Case duration estimates using the multipliers defined in the Risk Factors table. Select All tasks to calculate duration estimates for every task in the active project that has a Risk Factor ID assigned. Select Selected tasks to calculate duration estimates only for the currently selected tasks in Microsoft Project that have a Risk Factor ID assigned.
When performing either a Schedule Risk Assessment or a Sensitivity Analysis, the SSI Schedule Risk Analysis Tool uses only the values stored in the Best-Case and Worst-Case duration fields. Risk Factor ID values are not used directly during the analysis. Instead, they serve only as a mechanism for calculating and populating the Best-Case and Worst-Case duration estimates prior to running the analysis.