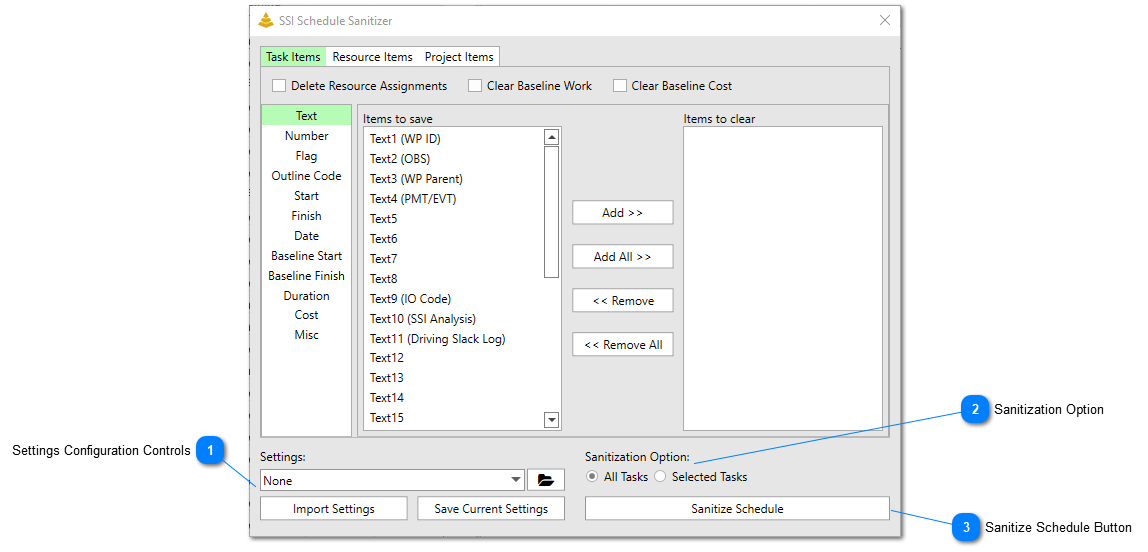
The SSI Schedule Sanitizer allows user to save settings configurations that can be toggled and reapplied at later times. These configuration files are saved as .json files and are stored in the user’s SSI Tools installation location. Sanitizer Settings Configuration files can be distributed to and imported by other users.
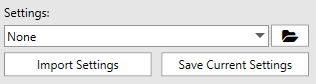
Clicking the Save Current Settings button will open a dialog box to give the settings configuration a name. Once the name is entered, a settings configuration will be created for the currently applied options set in the SSI Schedule Sanitizer form.
Clicking the Import Settings button will allow a user to browse to a SSI Schedule Sanitizer settings configuration .json file. Once a valid file is selected, it will be added to the user’s list of settings configurations.
Clicking the button will open the Windows File Explorer at the saved settings configurations directory. In this directory, users can delete or rename any of the saved .json files.
A specific settings configuration can be applied by selecting it from the settings drop down menu. When the SSI Schedule Sanitizer is first opened, the selected settings configuration is always set to None.
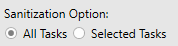
The SSI Schedule Sanitizer allows for sanitization to occur on all tasks in the schedule or only the selected tasks in the schedule.
All Tasks – This option will ensure that every task in the schedule is sanitized of all the items selected in the Task Itemstab, in addition, all the items selected in the Resource Items and Project Itemswill be sanitized.
Selected Tasks – This option will ensure that only the currently selected tasks will be sanitized of the items selected in the Task Itemstab. Custom task field names and formulas will not be removed, but the data within those fields will be removed from the selected tasks (unless the field follows a formula). In addition, all the items selected in the Resource Items and Project Itemswill be sanitized, however, the option to Delete Resource Sheet will not be disabled.
Click this button to begin the Sanitization process. Once the Sanitize Schedule button is clicked, a warning will be displayed to the user encouraging them to save a copy of their schedule file prior to sanitization. The user can choose to continue with the sanitization process or not by clicking Yes or No from the warning message box. It is highly recommended that the sanitization is performed on a copy of the project file, not the live file because the sanitization process will remove data from the file. If the sanitization process were to occur on the live file, any changes to the project file are not saved until user actually saves the file.



 button will open the Windows File Explorer at the saved settings configurations directory. In this directory, users can delete or rename any of the saved .json files.